Cold, gray North Fork days can make even the most charming cottage feel dim and chilly. If you plan to sell in early spring, winter is your moment to prep, stage, and photograph so your Jamesport home stands out. You want buyers to feel warm, welcome, and confident the home is well cared for. This guide gives you clear, local steps to brighten interiors, boost curb appeal, and time your photos for the strongest first impression. Let’s dive in.
Why winter staging matters
Jamesport winters bring short daylight, low sun angles, and coastal winds that leave salt spray on siding. Interiors read darker and exterior finishes can look tired. Staging now helps you counter that by creating bright, cozy spaces that photograph well and feel inviting at showings.
Buyers in this area look for turnkey, low‑maintenance coastal charm. Your goal is to present a cottage that is dry, warm, well lit, and easy to maintain. Lean into classic cottage textures, consistent lighting, and small exterior refreshes that communicate care.
Light your cottage right
Layered lighting is your best winter tool. Aim for ambient, task, and accent light in every key room.
- Use warm LED bulbs between 2700 and 3000 K for a cozy feel.
- Choose bulbs with a high color rendering index, ideally CRI 90 or better, so fabrics and finishes look true in photos.
- Keep bulb color consistent throughout the home to avoid odd color casts.
- Add table and floor lamps to dim corners in living spaces and bedrooms.
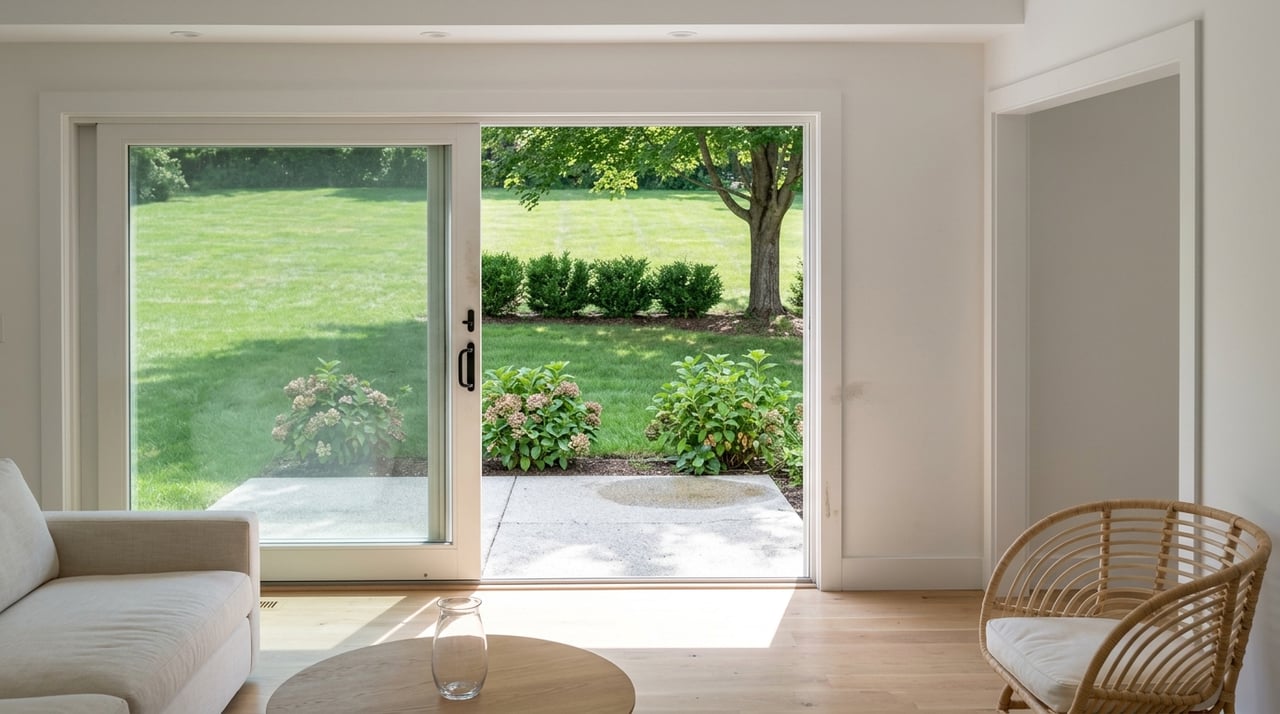
For kitchens and baths, brighten counters and mirrors with under‑cabinet and vanity lighting. Open drapes during the day and keep windows spotless to capture every bit of winter daylight. Position mirrors to reflect light into darker rooms.
Cozy textures and layout
Cold months can make small cottages feel stark. Strategic textiles add warmth without clutter.
- Choose wool or wool‑blend throws, low‑pile area rugs, and a few plush pillows.
- Keep the palette neutral with warm accents like muted ochre, navy, or soft coral for a coastal nod.
- Use rugs to define zones in open rooms and to soften hardwoods that feel cold.
- Avoid oversized furniture that blocks light or narrows walkways.
Keep pathways open and safe. Tape rug edges flat and avoid thick shag that can trip guests or look messy in photos.
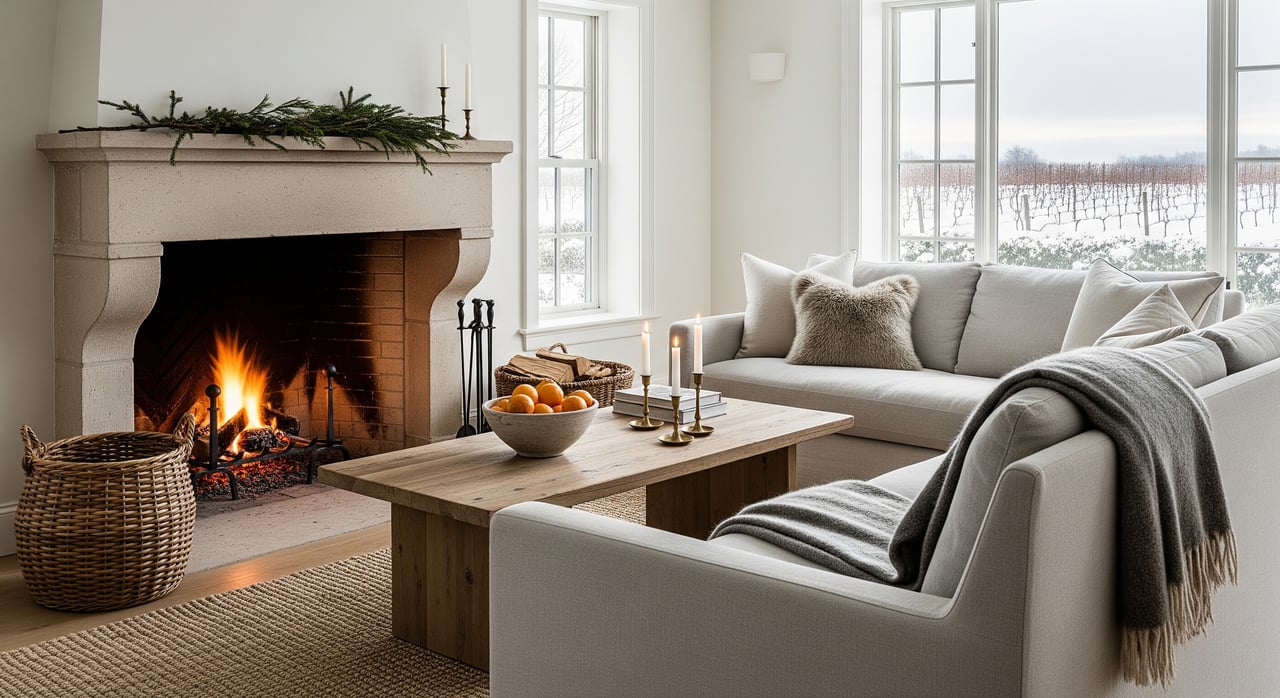
Make the fireplace a moment
If you have a fireplace, it can anchor your winter staging. Before using a live fire, confirm safety steps and your photographer’s preferences. Many photographers avoid live flames. You can still signal warmth with:
- An electric log insert or LED “fire” effect.
- Battery candles or a neat stack of decorative logs.
- A simple, uncluttered mantel that frames the feature.
Comfort matters: temperature and air
Buyers decide with their senses. Keep the interior at a comfortable temperature, often around 68 to 72 degrees during showings and photos. Neutralize odors from pets, smoke, and cooking through deep cleaning and ventilation. If you notice damp or musty smells, run a dehumidifier and dry any basement or crawlspace areas.
Declutter and repair the details
Winter magnifies small flaws. Before photos and showings, tidy high‑touch areas and complete easy fixes.
- Edit decor and store personal photos to help buyers focus on the home.
- Touch up scuffed baseboards, tighten loose hardware, and repair small dings.
- Clear entryways of bulky coats and boots so foyers read spacious and organized.
- Present closets as functional and roomy, with seasonal items stored away.
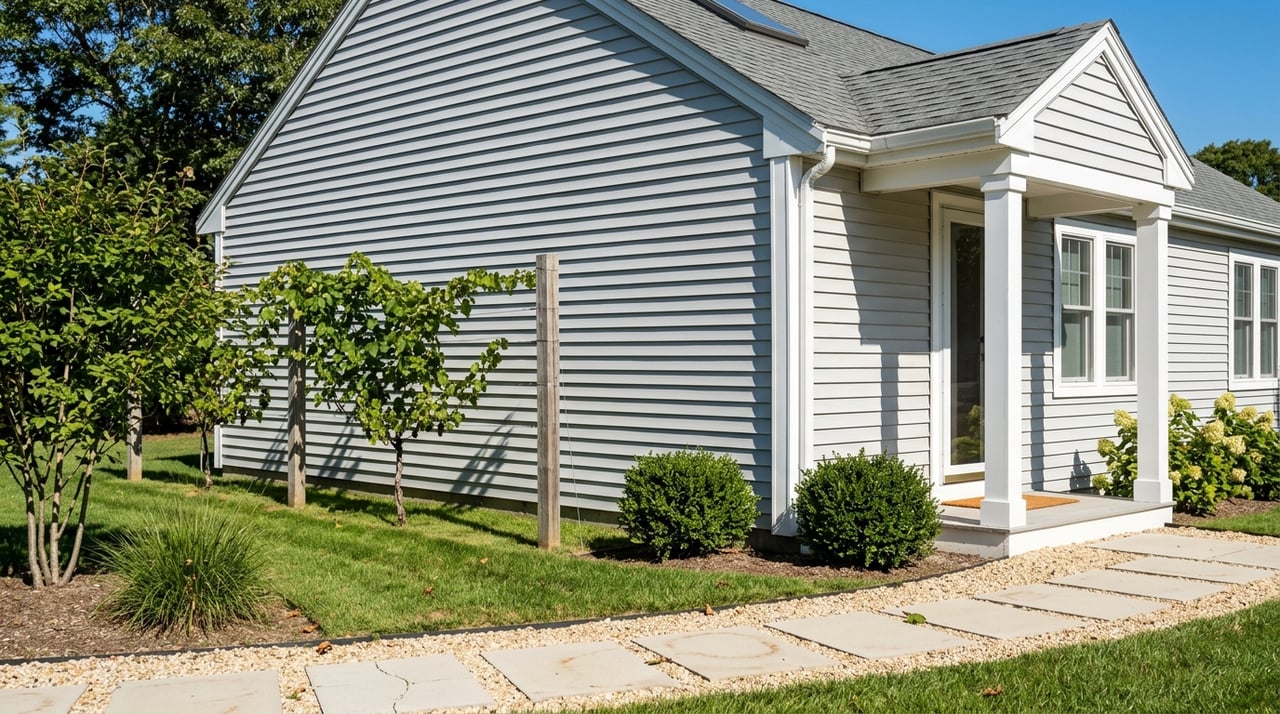
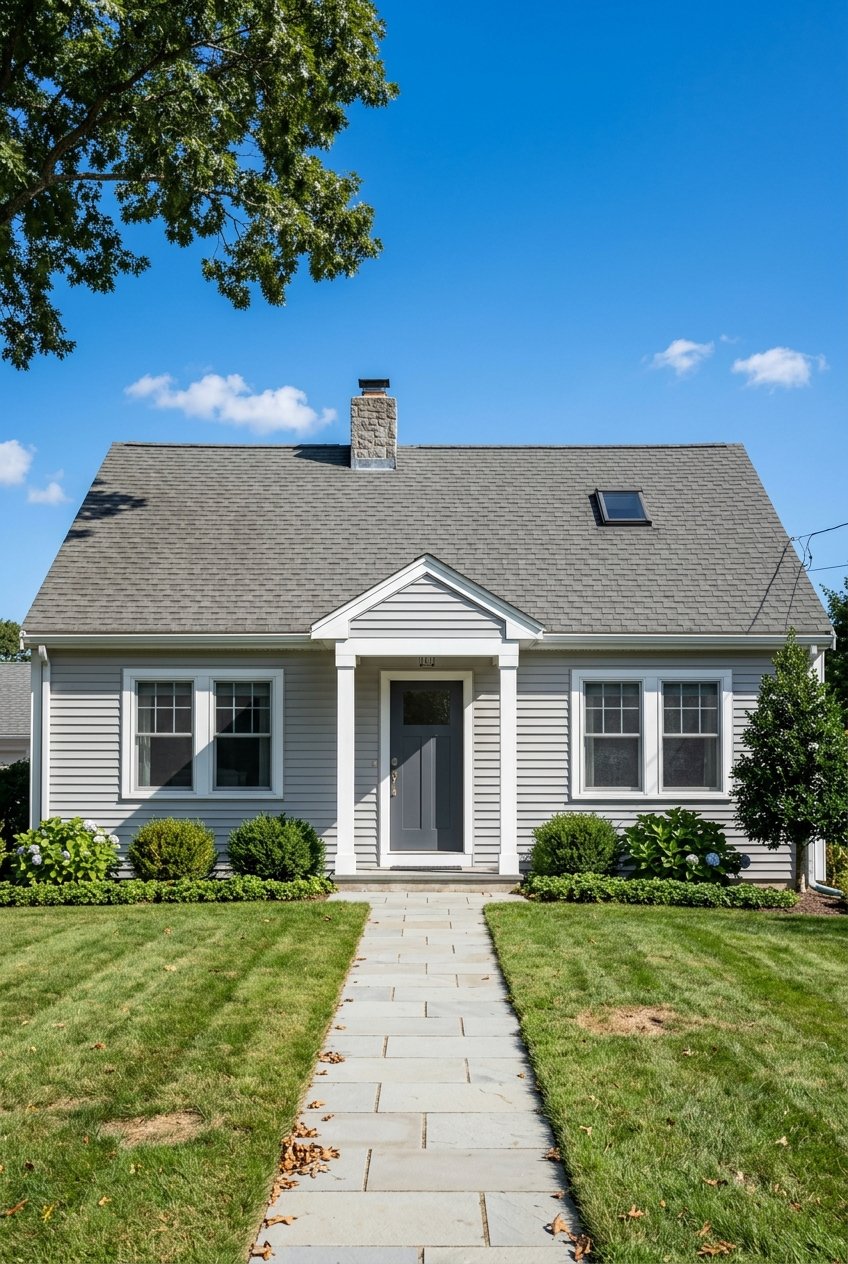
Curb appeal in cold weather
Your exterior sets the tone. Aim for clean, safe, and simple.
- Keep walkways and steps clear of snow and ice. Use non‑staining de‑icers that are safe for wood and concrete. Sand provides neutral traction and photographs well.
- Confirm handrails, steps, and porch boards are secure and in good repair. Touch up peeling paint that shows from the street.
- Test exterior lights and consider warm LED sconces or simple path lights for evening showings.
Winter landscaping can still look fresh. Swap tired planters for low‑maintenance evergreens or simple winter arrangements. Remove leaf piles, trim dead branches, and keep beds neat. Pressure‑wash siding if salt staining is visible, and replace rusted exterior hardware for a cleaner look.
For decor, less is more. Choose one simple wreath and a neutral welcome mat. Avoid holiday‑specific items that can date your listing photos.
Photography timing and approach
Strong photos are essential for an early‑spring launch. Plan staging and repairs several weeks in advance, then schedule photos 1 to 7 days before you go live.
- Choose a clear or partly sunny day if possible to boost interiors and make exteriors crisp.
- If snow is on the ground, clear paths and keep entries clean to avoid slush in photos.
- Consider a twilight session for warm, inviting exterior images with porch and path lighting.
Coordinate with your photographer about winter conditions. Ask how they prefer to handle fireplaces and whether they offer twilight or drone sessions. Avoid live flames if they are not comfortable or insured for it.
What to photograph first
Create a focused shot list that sells cottage living while showing essential spaces.
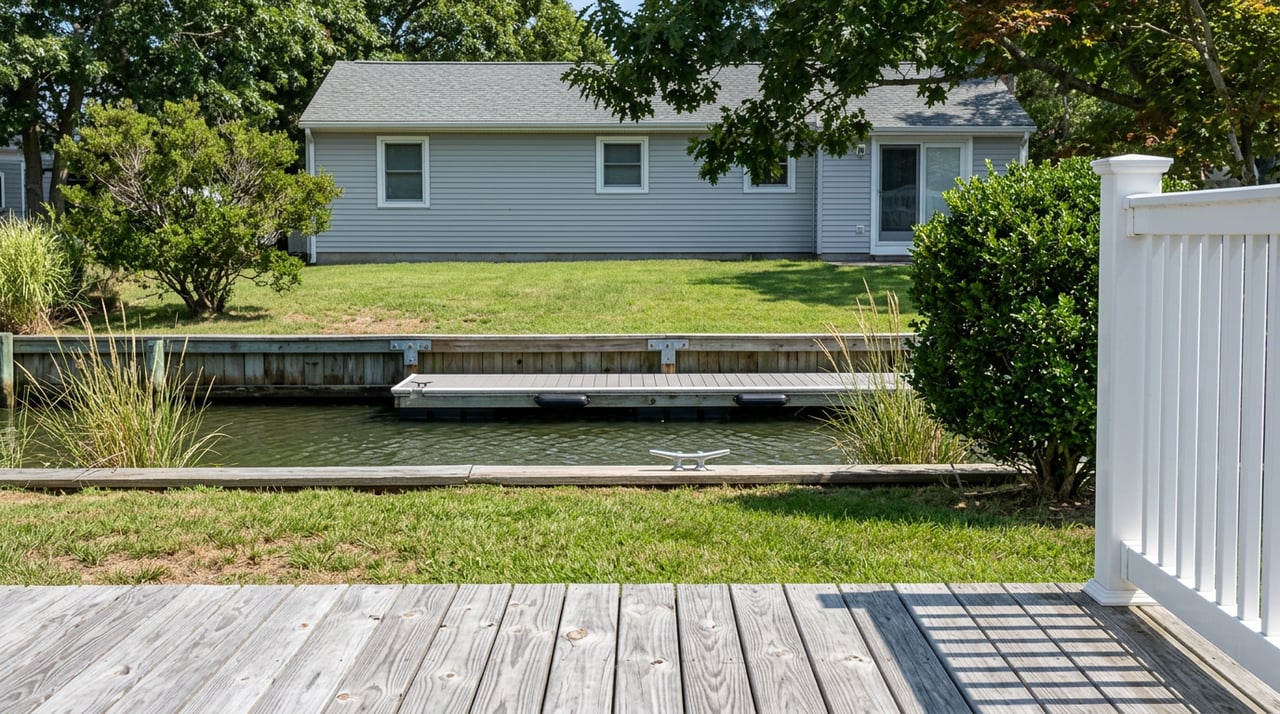
- Exterior: full front, porch and entry, driveway, yard and side yard, and any nearby view.
- Interior: living room, kitchen, primary bedroom, all baths, mudroom or foyer, and any finished basement or loft.
- Details: beams or woodwork, reading nook, set dining table, tidy closets, and updated mechanicals if recently replaced.
Two to six‑week prep timeline
Build a simple schedule so you are ready when buyer activity ramps up.
Two to six weeks before photos:
- Complete small repairs like loose railings, damaged thresholds, and peeling paint.
- Deep clean windows, baseboards, carpets, and check HVAC filters and dryer vents.
- Treat odors and address humidity. Dry basements or crawlspaces if needed.
- Clean and test all lighting. Replace bulbs to a warm, consistent color temperature.
- Sweep and pressure‑wash the porch and steps. Clean visible gutters and downspouts.
One to seven days before photos:
- Open all curtains and blinds to maximize daylight.
- Place cozy throws and pillows. Add lamps to darker corners.
- Remove extra seasonal decor. Keep styling neutral and calm.
- Clear walkways of ice and snow. Add a clean, neutral welcome mat.
- Set up a safe fireplace alternative if not using a live fire.
- Arrange winter planters and test exterior lights.
Safety and local notes
Keep staging safe and simple. Avoid loose rugs at entries, overloaded extension cords, or slippery porch mats. For sidewalk snow and ice, review Town of Riverhead rules so you understand your responsibilities. Coordinate any final disclosures with your agent and attorney according to New York laws.
Helpful vendors to consider
- Professional stager or stylist for finishing touches.
- Real estate photographer experienced with low‑light and coastal homes.
- Handyman or contractor for small exterior fixes and paint touch ups.
- Landscaper or seasonal florist for evergreen planters and tidy beds.
- Chimney sweep and HVAC technician to document recent service if applicable.
Put it all together
Your winter goal is simple: brighter rooms, warmer textures, clean lines, safe paths, and fresh exteriors. When you handle these details before early spring, your Jamesport cottage can launch with confident pricing, strong photos, and less stress. If you want help prioritizing upgrades, timing photos, or arranging vendors, reach out to Cheryl & Regan for local guidance and a tailored plan.
FAQs
What bulbs work best for winter staging in Jamesport?
- Warm LED bulbs in the 2700 to 3000 K range with CRI 90 or higher create cozy, accurate light that photographs well in low‑light winter conditions.
How should I handle snow or ice on photo day at my cottage?
- Clear all walkways and steps, use non‑staining de‑icers or sand for traction, and keep entries neat so photos show tidy, safe access.
Should I light the fireplace for listing photos?
- Ask your photographer first since many avoid live flames; safe alternatives like electric inserts or battery candles still signal warmth.
When should I start staging for an early‑spring 11947 listing?
- Begin repairs and staging 2 to 6 weeks before photos, then schedule photography 1 to 7 days before your planned list date for accuracy.
What winter curb appeal works best in Suffolk County?
- Simple evergreen planters, clean paths, warm exterior lighting, fresh hardware, and touch‑up paint convey care without heavy seasonal decor.